You might sometimes wonder how to get glass skin like Koreans, without spending a fortune on high-end products.
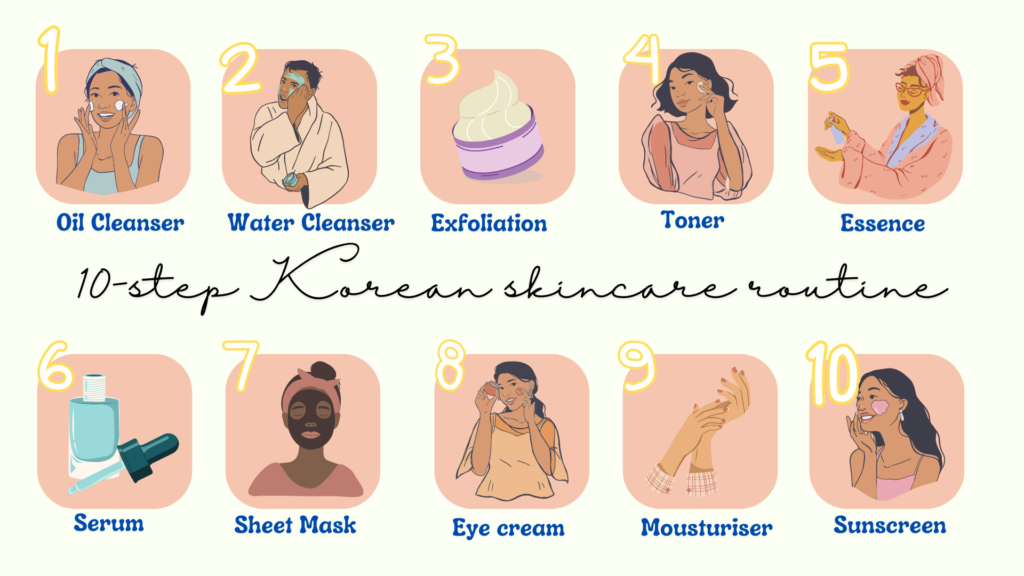
What if you could make all the steps of the popular Korean 10-step skincare routine at home, using natural ingredients?
Sounds like a dream, right?
In a world filled with expensive beauty products, the DIY trend is catching on for all the right reasons. Not only do you save money, but you also have complete control over what goes on your skin—no hidden chemicals, just pure goodness.
This DIY 10-step Korean skincare guide will walk you through each step using fun-to-create, highly effective DIY recipes. From the first cleanse to the final moisturising step, this routine can be a relaxing self-care activity that gives you radiant, dewy skin.
Ready to dive into the ultimate skincare ritual? Let’s get glowing with the ultimate DIY 10-step Korean skincare!
DIY 10-step Korean skincare routine with recipes
Ever wondered how to do the 10-step Korean skincare routine at home? Or maybe you’re curious about what are the 10 Korean skincare steps that everyone is raving about. Well, you’re in the right place!
While the idea of a 10-step routine might sound a bit intense at first, it’s actually much simpler than you think. The steps are easy, and straightforward, and can be smoothly added to any of your current skincare routine.
The key to getting the best results isn’t just in the products, but in the patience and consistency you bring to it.
You don’t have to follow all 10-step Korean skincare at night either—feel free to mix it up and find what suits your skin best. Whether you’re a skincare newbie or a seasoned pro, this DIY 10-step Korean routine is flexible and can easily fit into your lifestyle.
Now let’s get into this routine step-by-step:
Step 1: Oil-based Cleanser
Starting your routine with an oil cleanser may sound odd, especially if you have oily skin, but it’s actually one of the best ways to remove makeup, sunscreen, and excess sebum. Oil attracts oil, which makes it highly effective at breaking down impurities without stripping your skin of its natural moisture.
It’s the perfect way to prep your face for the rest of the steps in your DIY 10-step Korean skincare routine.
Here’s the DIY oil cleanser recipe in a simple table format:
| Skin type | Ingredients |
| Dry skin | ½ tsp Olive Oil + ½ tsp Castor Oil |
| Oily/ Acne-prone skin | ½ tsp Jojoba Oil + ½ tsp Castor Oil |
| Sensitive skin | ½ tsp Avocado Oil + ½ tsp Coconut Oil |
Here’s the process of how to double cleanse with an oil-based cleanser, explained step by step:
- Start with dry skin and apply the oil-based cleanser directly to your face.
- Use circular motions to gently massage the oil into your skin. This helps break down makeup, excess sebum, and other oil-based impurities.
- Add a few drops of water to your face. The oil will turn into a milky consistency, helping to further remove dirt and grime.
- Rinse the emulsified oil with lukewarm water, leaving your skin clean and soft.
How does oil-based cleansing differ from water cleansing?
Oil cleansing removes oil-based impurities like sebum, sunscreen, and makeup, while water-based cleansers focus on removing water-based dirt and sweat. Double cleansing ensures a thorough clean without stripping the skin of moisture.
Step 2: Water-based Cleanser
After oil cleansing, the second step to this DIY 10-step Korean skincare version is using a water-based cleanser.
In Korean skincare, deep cleansing is key, and this step removes any remaining dirt, sweat, and water-based impurities. Double cleansing has become a skincare staple, helping you achieve cleaner, clearer skin without stripping it of natural oils.
A low-pH, sulfate-free cleanser is best to keep your skin calm and hydrated. But why go for the search when you can make your own gentle DIY water-based cleanser?
DIY Recipe: Rice Water Cleanser
Rice water is a natural ingredient that has been used for centuries in skincare. You can create a DIY water-based cleanser with just a few simple ingredients.
Mix 2 tablespoons of rice water with 1 tablespoon of aloe vera gel, 1 teaspoon of honey, and a green tea bag steeped for 4–5 minutes. Apply the mixture to your face, leave it on for 10–15 minutes, and rinse it off with fresh water.
This blend will cleanse your skin without irritating it, leaving it soft and glowing.
Other ingredients that can work well for water-based cleansing include- yoghurt, gram flour, multani mitti, rose water, oats, and lemon juice.
How to Use a Water-Based Cleanser
- Use the water-based cleanser after your oil-based one for the double cleanse.
- Apply the cleanser to damp skin and massage it in gentle, circular motions, avoiding the eye area.
- Rinse thoroughly with lukewarm water to avoid stripping your skin.
- Pat your face dry with a soft towel, don’t rub.
- If you’re short on time or have dry skin, you can skip this step and use a cleansing toner instead.
Double cleansing might seem like an extra step, but your skin will thank you!
Step 3: Exfoliation
Exfoliation is like hitting the reset button for your skin! By removing dead skin cells, you’ll reveal a brighter, smoother complexion. For many, it’s one of the most important steps in the 10-step Korean skincare DIY.
Exfoliating is key in Korean skincare. It allows other skincare products to penetrate deeper and work more effectively. Depending on your skin type, you can exfoliate daily or weekly.

How often you exfoliate depends on your skin type:
- Korean skincare for dry skin: Once a week is enough to avoid irritation. Try a gentle chemical exfoliator or a washcloth.
- Korean skincare oily skin: Exfoliate 2-3 times a week to control oil and prevent breakouts.
- Korean skincare for combination or normal skin: Twice a week is perfect.
Exfoliation also promotes cell turnover, reduces sun damage, and helps with discolouration. If you’re into DIY methods, yoghurt (rich in lactic acid) works wonders for dry skin, while papaya (full of papain) is a great natural exfoliator for oily or combination skin.
Over-exfoliating can cause redness, itchiness, or even breakouts. So just remember, if your skin starts feeling irritated, it’s time to take a break!
To avoid irritation here are some do’s and don’ts to follow during exfoliation for sensitive skin:-
| Do’s | Don’ts |
| Use gentle, chemical exfoliators like AHA/BHA or DIY exfoliators like yoghurt, or oatmeal. | Don’t use harsh scrubs or rough mechanical exfoliants like coffee, sugar, or walnuts. |
| Exfoliate only once a week | Avoid exfoliating if your skin feels irritated |
| Follow up with a soothing moisturizer | Don’t skip sunscreen after exfoliating |
| Be gentle—use soft circular motions | Don’t exfoliate if you have active breakouts |
Step 4: Toner
After cleansing and exfoliating, it’s time to bring your skin back into balance with a toner.
Toners are a key part of our DIY 10-step Korean skincare because they help balance your skin’s pH levels, hydrate, and remove any leftover impurities. Korean toners, in particular, are incredibly hydrating and designed to nourish your skin deeply.
One popular technique is the 7 Skin Method. This involves layering your toner up to seven times, allowing each layer to absorb before applying the next.
But don’t stress about the number!
You can apply as many layers as your skin needs to feel comfortably hydrated. It’s all about finding what works for you.
If you want to make your own DIY toner at home, you can try this DIY Green Tea and Rice Water Toner. Green tea, with its antioxidants, fights free radicals and reduces enlarged pores, while rice water helps tighten pores and balance pH levels. Together, they create a powerhouse toner that leaves your skin feeling fresh and glowing.
DIY Recipe:
- Steep green tea in hot water for 5–10 minutes.
- Add 2 tablespoons of jasmine rice and let it sit for 5 hours or overnight.
- Strain and pour the mixture into a bottle.
- Use it morning and night after cleansing for best results.
You can also enhance your toner with aloe vera, honey, or rose water for extra hydration and soothing benefits.
Do You Really Need A Face Toner?
Even after a lot of discussions, the big question still persists: Do you really need a toner?
According to Dermats, this is a big debate in the beauty world. Some say it’s skippable, while others swear by its pH-balancing benefits. The answer is it all depends on your personal preferences.
Your moisturiser or serum may already contain the same active ingredients that your toner provides, giving you the same results. Cleansing, moisturising, exfoliating, and using sunscreen are the real stars of skincare.
But if you love that extra layer of hydration, using a toner once a day—morning or evening—is more than enough. At the end of the day, it’s all about what makes you feel good about your skin!
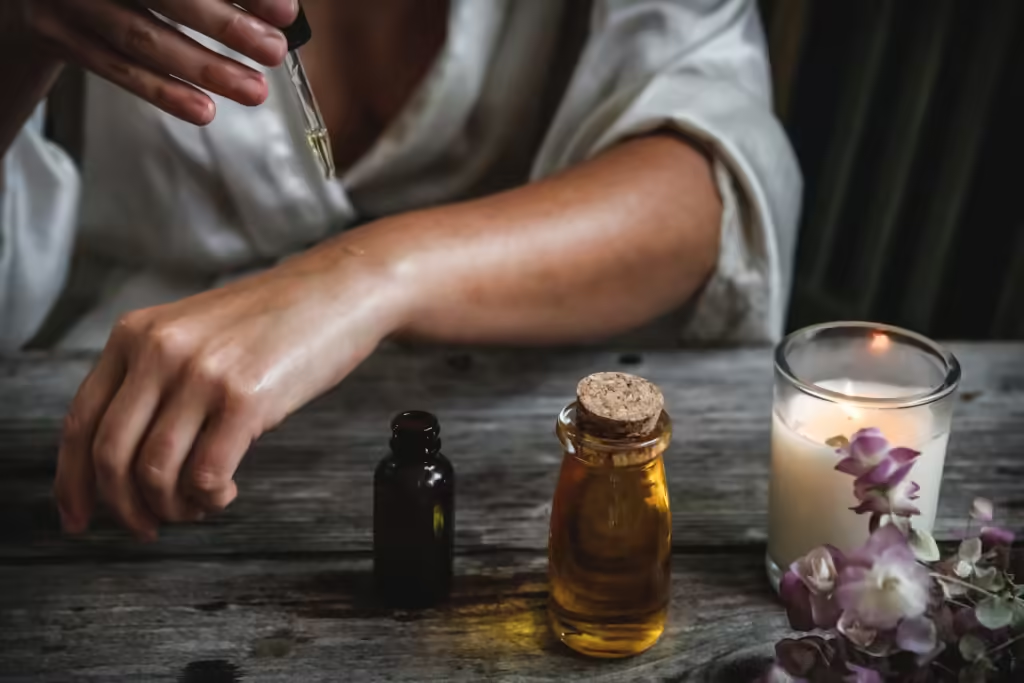
Step 5: Essence
Essence is the heart of any DIY 10-step Korean skincare, delivering deep hydration to your skin.
While toners balance the skin, essences take it a step further by boosting moisture levels, which is crucial for a healthy, glowing complexion. Think of essences as lightweight hydration packed with concentrated ingredients that can help reduce fine lines and prevent wrinkles. They are particularly beneficial for those with dry skin but can work wonders for all skin types.
To apply essence correctly, ditch the cotton pad! Instead, pour a few drops into your hands and gently press it into your skin using your palms. This method ensures you’re not wasting any product and gives your skin the hydration it craves.

DIY Essence Recipe: Here’s a simple recipe:
- 85% Aloe Vera Juice or Rosewater: Hydrates and soothes the skin.
- Vegetable Glycerin: Adds moisture and creates a smooth texture.
- Oil of Your Choice: Pick the best oil for your skin type.
| Skin type | Recommended Oils |
| Dry/ Sensetive skin | Argan, Jojoba, Avocado |
| Oily skin | Maracuja, Grapeseed, Tea Tree |
| Combination skin | Coconut, Jojoba |
Step 6: Serum
Serums are a powerhouse in Korean skincare, tackling a range of skin concerns like hydration, anti-ageing, and acne.
Packed with potent active ingredients, serums penetrate deep into the skin, delivering concentrated benefits where your skin needs it most. Whether you’re looking to brighten dark spots, reduce fine lines, or calm inflammation, there’s a serum for you!
Serums are applied after essence and before moisturiser in any DIY 10-step Korean skincare routine. But remember, while serums are great for your skin, using too many at once can overload it, causing irritation or breakouts. Stick to two serums at a time, layering from the thinnest to the thickest consistency for the best results.
DIY Recipe: You can even make a vitamin C serum at home using orange peels!
Just dry the peels, grind them into powder, and mix them with glycerin, vitamin E oil, and aloe vera gel. Be sure to check the pH level with a strip to avoid skin irritation.
How often to use serums:
- Dry skin: 2-3 times a week (focus on hydration and anti-ageing).
- Oily/Acne-prone skin: Every other day (opt for acne-fighting or oil-controlling serums).
- Sensitive skin: Use 1-2 times a week with gentle ingredients.
Here’s a breakdown of popular serums and their benefits:
| Popular serums | Skin type | Benefits |
| Hyaluronic acid | Dry | Deep hydration |
| Vitamin C | All | Brightens skin reduces dark spots |
| Glycolic acid | Oily/Combo | Exfoliates, smooths texture |
| Salicylic acid | Oily/Acne-prone | Reduces acne, controls oil |
| Retinol | Ageing/Combo | Fights wrinkles, smooths texture |
| Niacinamide | All | Calms redness, improves texture |
Choose wisely with your dermat’s recommendations and watch your skin transform!
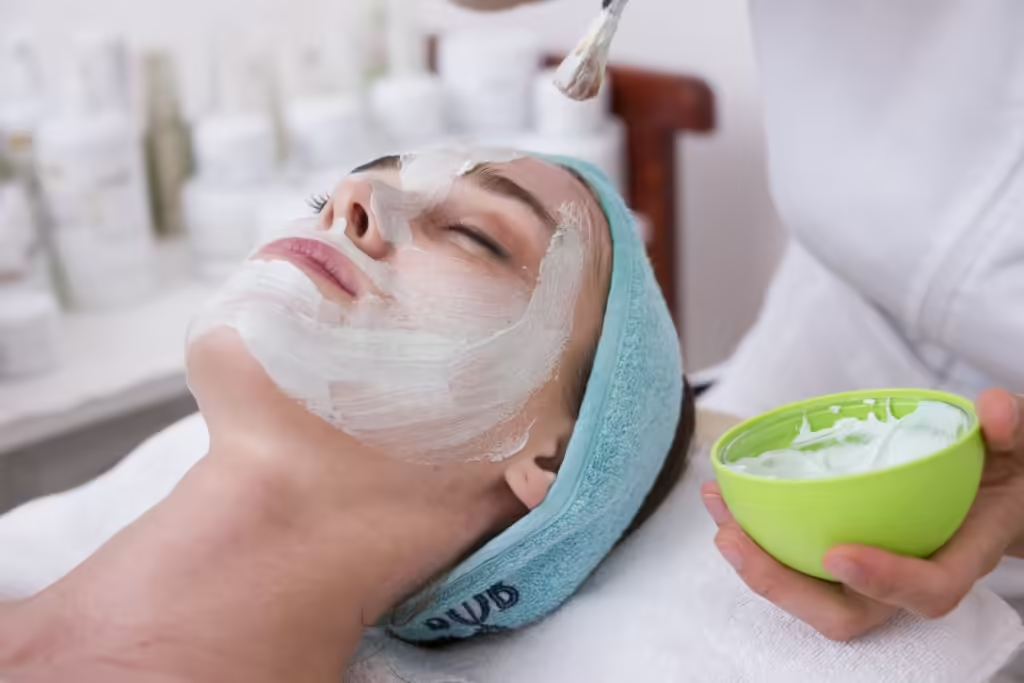
Step 7: Sheet Mask
Looking to pamper your skin with extra hydration and nourishment? Sheet masks are the perfect treat!
In Korean skincare, sheet masks are all about locking in moisture, reversing signs of ageing, and protecting your skin from environmental stress. Whether you’re prepping for a big day or simply winding down, a sheet mask is the bonus step to give your skin that instant glow.
You can customise the sheet mask step! You can either apply a mask, after completing your DIY 10-step Korean skincare or apply it before the moisturising step to seal in its benefits.
This is a completely optional step so you can either use a store-bought mask or make a DIY Korean mask at home. You can give these fun recipes a try:
- Rice Water and Green Tea Mask: Hydrates and soothes.
- Honey and Yogurt Mask: Nourishes and softens.
- Aloe Vera and Cucumber Mask: Calms and refreshes.
- Turmeric and Milk Mask: Brightens and evens out skin tone.
- Oatmeal and Banana Mask: Exfoliates and moisturises.
These simple ingredients can give your skin the care it deserves, leaving it soft, glowing, and refreshed!
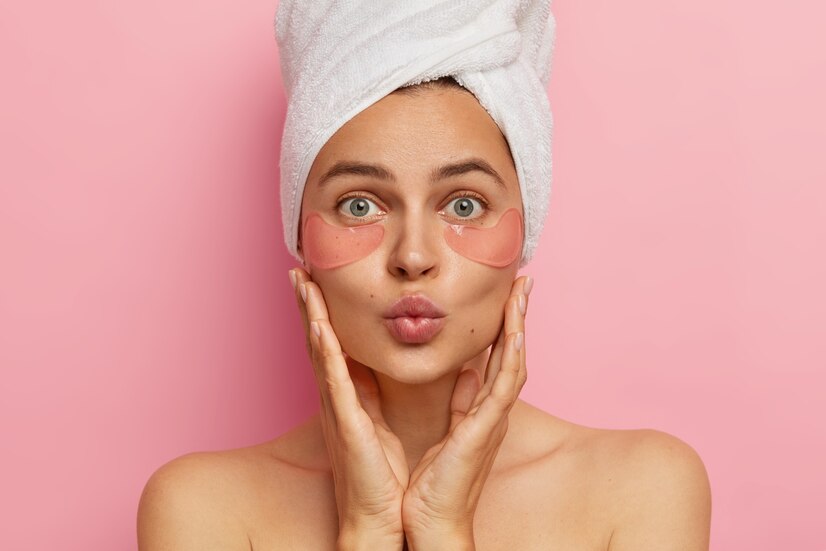
Step 8: Eye cream and Eye patch
Don’t overlook the importance of eye cream! The delicate skin around your eyes is often the first to show signs of aging, such as fine lines, dark circles, and puffiness.
Eye creams are essential for keeping this area hydrated and plump. Always apply your eye cream by gently tapping it in with your ring or pinky finger. Rubbing or tugging can worsen wrinkles, so be gentle!
If you’re dealing with dark circles, puffiness, or dryness, pick an eye cream that targets your specific concerns. Many Koreans swear by luxurious ingredients like white pearls and diamond powder in their eye patches to brighten and reduce signs of aging. These patches can give an instant lift, minimizing fine lines and restoring a youthful glow.
For a DIY skincare recipe, try a Cucumber and Coffee-Infused Eye Cream to reduce puffiness and dark circles. Or, for a natural brightener, mix Turmeric and Milk to help with dark spots under your eyes.
Just remember—when it comes to eye care, a little prevention goes a long way!
Step 9: Moisturiser
Skipping moisturiser after all your skincare efforts? That would be a huge mistake!
Moisturiser is the final step that seals in all the hydration you’ve been layering on your skin. Korean moisturisers are known for their luxurious textures and incredible ability to lock in moisture, giving your skin a smooth, hydrated glow.
Without a good moisturiser, all the moisture you’ve added could evaporate, leaving your skin even drier than before. This process, called transepidermal water loss, can lead to dehydrated, dull skin. That’s where a rich moisturiser steps in, forming a protective barrier that locks in all that goodness and prevents water loss.
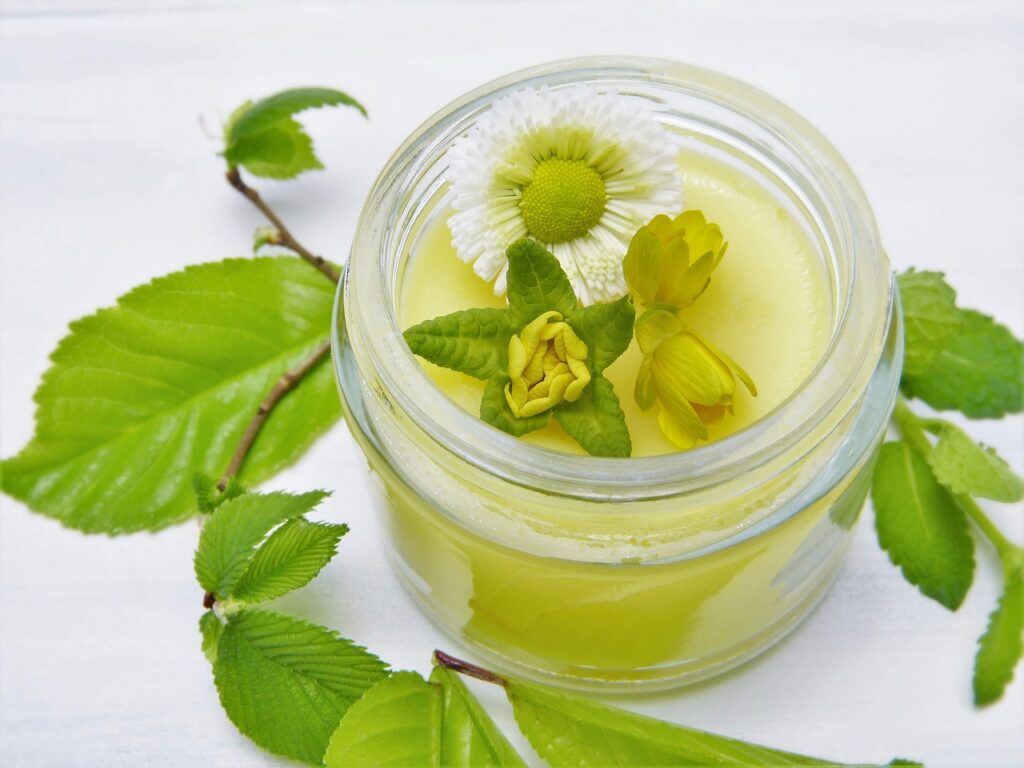
Looking for a DIY option? Try a Shea Butter or Avocado-Based Moisturiser.
Shea butter is rich in fatty acids that deeply nourish dry skin, while avocado oil acts as a natural sunscreen and absorbs easily.
For oily skin, aloe vera is a great choice. It’s lightweight and helps control surface acne with its anti-inflammatory properties, while almond oil locks in moisture without feeling greasy.
Sensitive skin types can benefit from liquorice tea and aloe vera, both known for their calming effects.
In the end, moisturiser isn’t just about hydration; it’s about locking in everything your skin needs to stay balanced and glowing all day long.
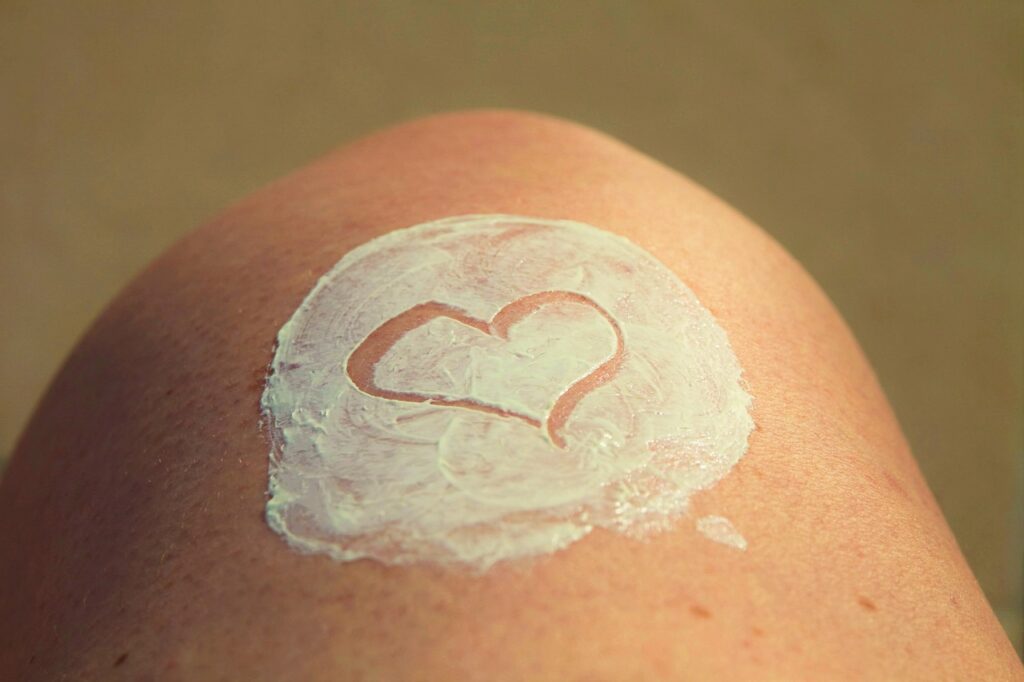
Step 10: Sunscreen
We all know the importance of sunscreen, but did you know natural oils like raspberry seed oil can offer UV protection?
In the mornings, after completing your skincare routine, the final and most crucial step is sunscreen. Korean sunscreens are typically lightweight, invisible, and feel more like a light moisturiser or serum.
To complete this DIY 10-step Korean skincare routine you can use natural oils as sunscreen. For example, oils such as Raspberry Seed Oil provide a high SPF (30-50), making them a popular choice for those who prefer plant-based alternatives. However, while oils like Carrot Seed Oil (SPF 38-40) and Calendula Oil (SPF 15) offer some protection, they can’t fully replace commercial sunscreens.
But it’s important to remember that natural sunscreens cannot replace commercial ones because they come with their own limitations. Some of them include:
- Less water-resistant: DIY sunscreens are not as water-resistant as commercial sunscreens, so they need to be reapplied more often, especially after swimming or sweating.
- Frequent reapplication: Due to lower SPF ratings, natural sunscreens require more frequent reapplication to maintain effective sun protection.
- Lower SPF ratings: Many natural sunscreens, including DIY versions, provide lower SPF protection compared to chemical sunscreens.
- Slower to apply: Natural sunscreens can take longer to apply evenly on the skin, making them less convenient for daily use.
- Heavier texture: Some natural sunscreens can feel heavier or greasier on the skin, especially when compared to lightweight commercial sunscreens.
- Micronized zinc oxide and titanium dioxide: These natural sunscreen ingredients offer better absorption into the skin, but there are concerns that they may be absorbed into the bloodstream, raising potential health risks.
Famous Korean sunscreens you can opt for glass-skin
| Sunscreen | Best for | Benefits |
| Purito or Krave Beauty | All skin types | Natural, soothing texture, modern sun filters, easy to apply |
| Neogen Day-Light Protection Airy Sunscreen | Daily use | Lightweight, perfect for everyday application, provides broad-spectrum protection |
| Round Lab Birch Juice Moisturizing Sunscreen | Dry skin | Deeply hydrating, nourishes dry skin, smooth texture |
| IOPE UV Defense Sun Protector | Oily skin | Lightweight formula, controls excess oil, non-greasy finish |
| Dr G Green Mild Up Sun+ Sunscreen | Sensitive skin | Gentle formulation, provides sun protection without irritation, great for sensitive skin types |
Always remember to check the SPF rating when buying sunscreen and reapply regularly to ensure your skin stays safe and protected!
Does 10-step Korean skincare work?
Yes, it does! For years, it’s been hailed as the secret behind the glowing, flawless skin of Korean celebrities. While it may seem like a complex ritual, the magic lies in its focus on hydration and barrier repair. These steps help lock in moisture, prevent water loss, and keep out harmful substances, all while fighting signs of aging like fine lines and wrinkles.
However, skincare enthusiasts need to remember that the DIY 10-step Korean skincare routine is more of a guideline than a rule. It’s important to know your skin type and create a routine that suits your needs. Whether it’s a simple 3-step routine or a full 10-step regimen, the key is finding what works for you. With patience and consistency, healthy, radiant skin is achievable!
How long does it take for Korean skincare to work?
Results don’t happen overnight, but if you stick to your DIY 10-step Korean skincare routine, you’ll start seeing changes in about four to five weeks. That’s because your skin needs time to adjust and respond to the products.
The key to glowing skin is having patience and being consistent. Korean skincare emphasises daily routines, focusing on hydration and nourishment. Over time, this helps improve skin texture and overall appearance.
Korean skincare also aligns with the natural process of skin cell turnover, which takes a few weeks. So, be patient—your glowing, healthy skin is just around the corner!

Why DIY 10-step Korean skincare works so well for sensitive skin
DIY 10-step Korean skincare works really well for sensitive skin because DIY is all about control and customisation. With sensitive skin, using harsh chemicals found in commercial products can lead to irritation, redness, and breakouts. But when you create your own skincare routine, you can focus on natural, gentle ingredients that calm and nourish the skin.
Korean skincare emphasises hydration, which helps lock in moisture and protect your skin’s barrier from impurities. Plus, by making your own products, you can skip preservatives that often irritate sensitive skin.
The beauty of DIY skincare is that you can tailor the formulation specifically to your skin’s needs.
Need extra hydration? Add a little more honey!
Struggling with redness? Chamomile tea can soothe that!
With countless natural ingredients to choose from, you can easily mix and match to create a personalised DIY skincare routine that addresses your specific concerns.
Just remember to patch-test any new product before applying it to your whole face to avoid any unwanted reactions. Your skin will thank you!
What are the side effects of Korean skincare?
While DIY 10-step Korean skincare can work wonders, there are a few side effects to be mindful of.
Over-exfoliation is a big concern, as many Korean routines involve regular scrubs and peels. When done too often, this can damage your skin’s natural barrier, leaving it vulnerable to pollution, UV rays, and infections. This can result in Increased sensitivity, redness, and even premature ageing.
Skin pigmentation issues can also arise. Some Korean skin-brightening products, designed to even out skin tone, may lead to hyperpigmentation or uneven patches.
Lastly, harsh chemicals, like hydroquinone or synthetic fragrances widely used in Korean skincare products, may cause irritation or allergic reactions. Always check ingredients and use them with caution!
To conclude
In summary, the DIY 10-step Korean skincare routine is a powerful approach to achieving healthy, radiant skin. By incorporating natural ingredients and customizing each step to fit your skin’s specific needs, you can enhance hydration, protect your skin barrier, and address various concerns effectively.
While this extensive routine might seem daunting, it’s flexible, allowing you to adapt it to your preferences and lifestyle.
Remember, consistency is key—give your skin time to adjust and respond. With thoughtful application and the right ingredients, you can enjoy the benefits of DIY Korean skincare without the need for harsh chemicals or over-the-counter products!
FAQs
- Is Korean skincare good for acne?
Ans- Yes, Korean skincare can be beneficial for acne-prone skin. Many Korean products feature soothing and hydrating ingredients like hyaluronic acid, green tea, and niacinamide, which can help calm inflammation and reduce acne.
Ampoules and hydrocolloid patches are popular in Korean routines for their ability to address irritation and absorb impurities overnight.
- Is a 10-step Korean skincare routine necessary?
Ans- No, a 10-step routine isn’t essential for everyone. The key is to find a regimen that suits your skin type and lifestyle. Feel free to experiment with different products and ingredients to see what works best for you, and remember to be patient with the results.
- How often should you do the 10-step Korean skincare routine?
Ans- Typically, the 10-step routine is done twice daily, once in the morning and once before bed. However, you can adjust the frequency based on your skin’s needs and how sensitive it is.
- Is Korean glass skin real or genetic?
Ans- The term “glass skin” describes exceptionally smooth, clear, and radiant skin. While it might seem like a genetic trait, it’s actually the result of diligent skincare practices, including cleansing, exfoliating, and moisturising.
The Korean skincare approach emphasises consistent care and the use of hydrating products, contributing to a glass-like complexion.